Browse help topics
Welcome to OneForce Care
Get your bearings: the top navigation, your account menu, and how these guides work.
Last updated · 3 July 2026
OneForce Care brings your whole operation onto one platform: participants, workers, scheduling, service delivery, incidents, intake, and NDIS claiming, all on the same record. This guide gives you a quick tour of the office app so you know where everything lives, then points you to the right place to start.
Find your way around
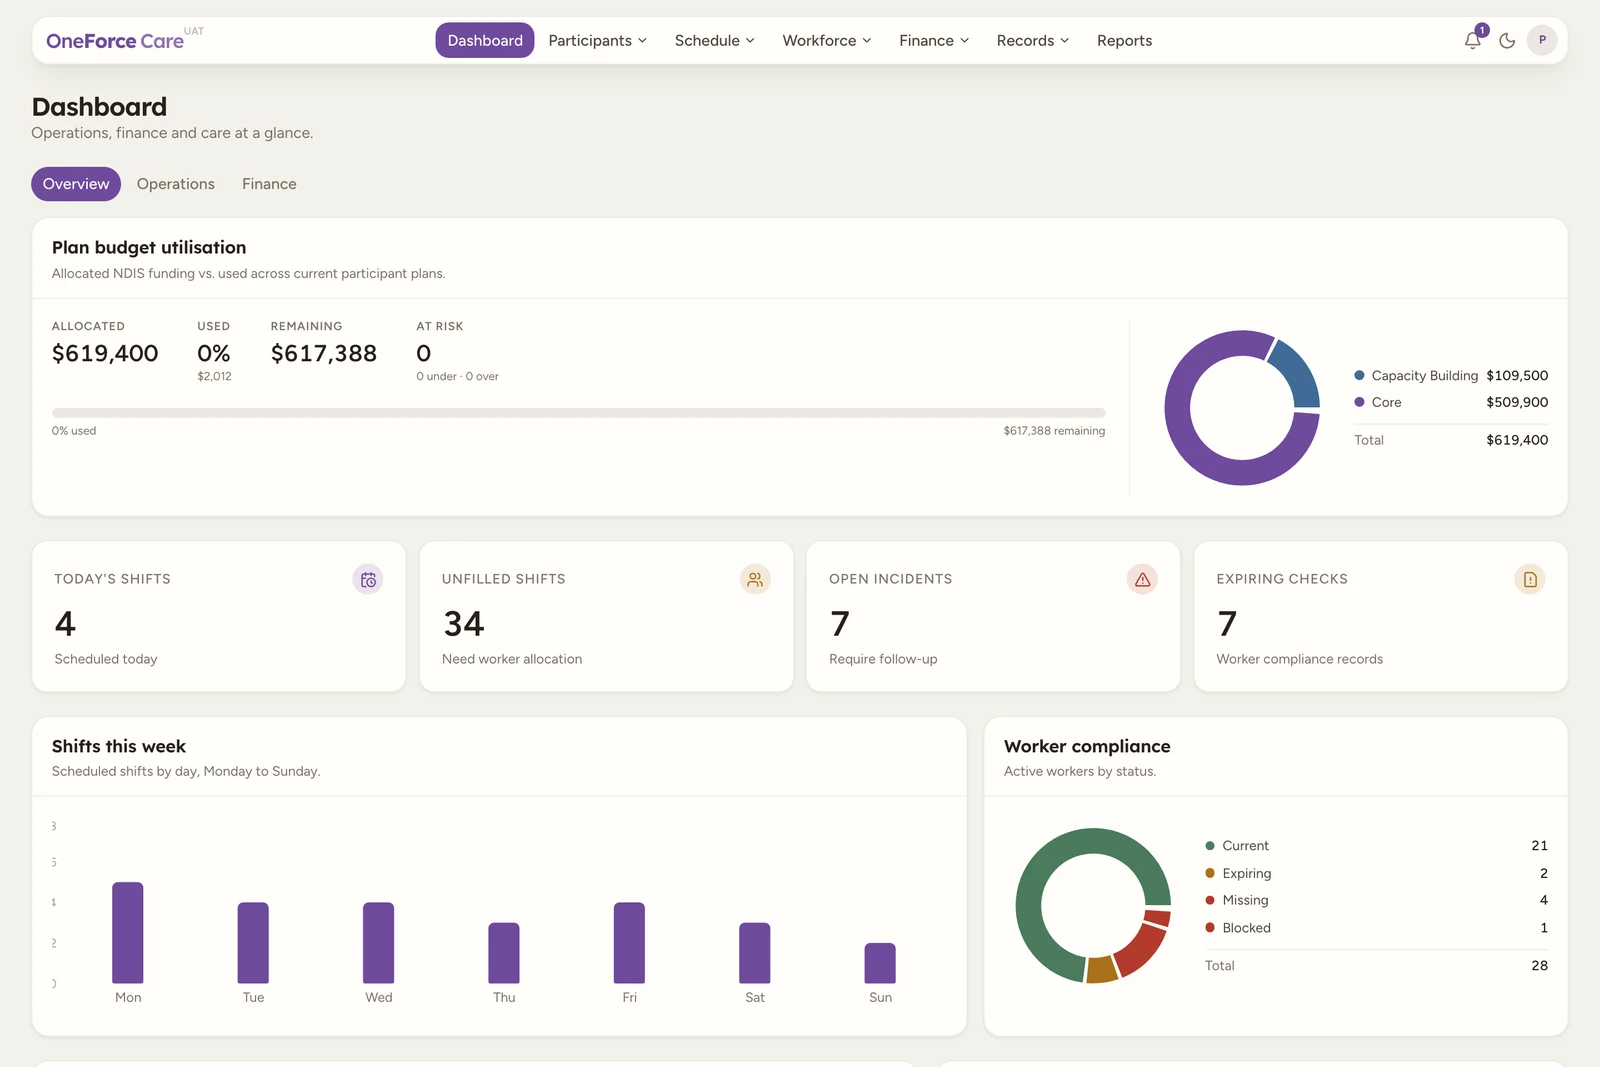
Everything in the office app is reached from the bar across the top. Each area is grouped into a menu, so related screens sit together. Hover or click a menu to see what is inside.
 1 2 3
1 2 3 Here is what sits under each menu:
| Menu | What is inside |
|---|---|
| Dashboard | Operations, finance and care at a glance. |
| Participants | Participants, Intake (new enquiries) and Incidents. |
| Schedule | Scheduling (shifts), Assignments and Tasks. |
| Workforce | Workers and Payroll. |
| Finance | Billing, Invoices and Payments. |
| Records | Directory (contacts and organisations) and Documents. |
| Reports | Operational insights and data exports. |
Note
You will only see the menus your role has access to. An owner or admin sees everything; other team members see the areas they have been given. Support workers use the OneForce Care mobile app, not the office app.
Your account menu
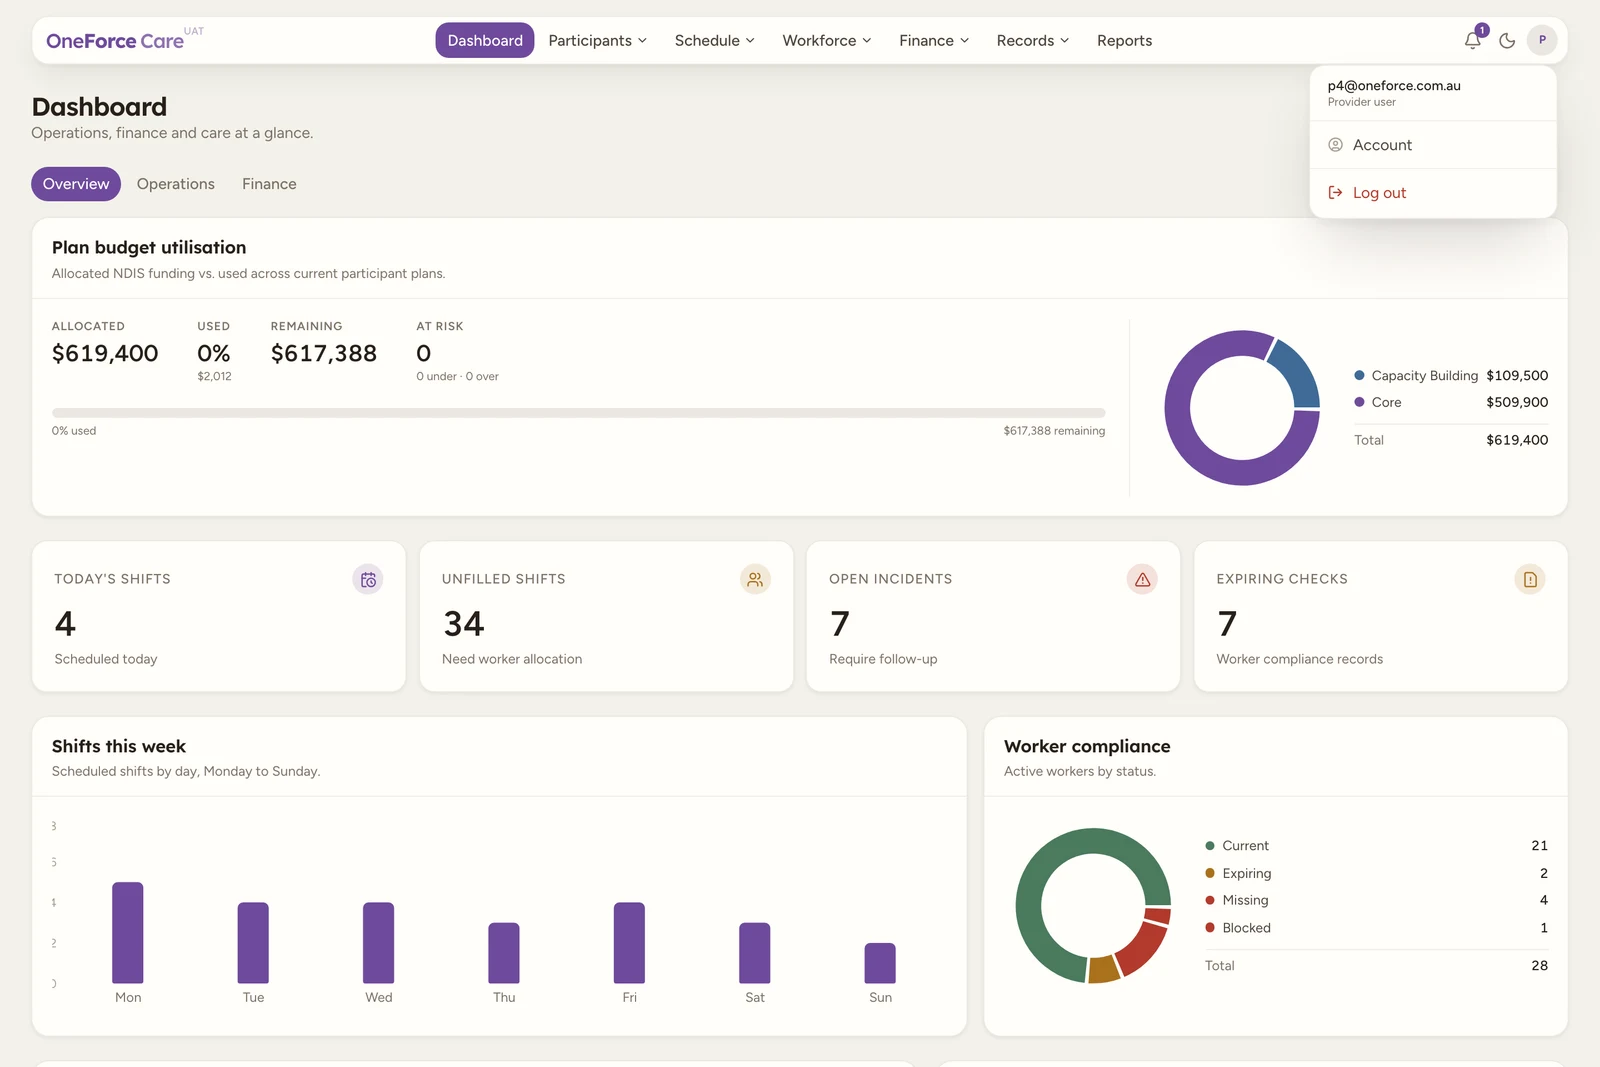
Select your initials at the top right to reach your own profile, your security settings and the sign-out button.
 1 2 3
1 2 3 How these guides work
Each area of the platform has its own section in the sidebar. Within a section, guides run in the order you would use them: an overview first, then the day-to-day tasks, then the less common ones. Every guide is written against the live app, so the buttons, fields and messages match what you see on screen.
- Guides show you how to complete a task, in numbered steps with annotated screenshots.
- Troubleshooting is a reference for the alerts and blockers the app can show, what they mean, and how to resolve them. When a guide mentions one, it links straight to the matching entry.
Setting up your workspace
Brand new here? Work through these three guides in order:
- Set up your organisation (provider owner). Your business details, invoicing defaults, an optional Xero connection, and any workspace features you want switched on all live under your account menu.
- Roles and access. Decide who on your team needs the office app, and what each person should be able to see once they are in it.
- Your first week checklist. Invite your team, then bulk import your participants and workers instead of entering them one at a time.
Tip
Already set up? Most daily work starts with a participant record, so head straight to Participants.