Browse help topics
Set up your organisation
Business details, invoicing defaults, Xero, and workspace features, one tab at a time.
Last updated · 3 September 2026
As the provider owner, five tabs under your account menu configure the whole workspace: Organisation, Invoicing, Subscription, Integrations and Features. Work through them once when you first sign up, then come back whenever something changes.
Note
These five tabs only appear for the provider owner. Admins see a cut-down Organisation tab with just role-based access on it; Invoicing, Subscription, Integrations and Features aren’t shown to them at all.
Open your account settings
Select your initials at the top right, then choose Account. The page opens on a row of tabs: Account, Organisation, Invoicing, Subscription, Integrations and Features. You can also jump straight to one by adding ?tab= to the address, for example /account?tab=invoicing.
Business details, on Organisation
Open the Account›Organisation tab. Your Business details card sits at the top:
| Field | Required | Notes |
|---|---|---|
| Logo | No | Select Change logo, then choose any image file up to 500 KB (PNG or SVG hold up best). It saves the moment you pick the file, with the toast “Logo saved.” |
| Business name | Yes | |
| Your provider role | Read-only | Shows your role, for example Owner. |
| ABN | Yes | 11 digits, checked against the ATO checksum. |
| ACN | No | 9 digits, if you have one. |
| NDIA organisation ID | No | 9 digits starting with 405. Required before saving an NDIA-managed plan. |
| Address | Yes | One search box. Start typing and choose the match, which fills in the suburb, state and postcode behind the scenes. See below if the lookup can’t find it. |
| Website | No | A full URL, for example https://example.com |
Select Save. You see “Business details saved.” If an optional field is present but invalid, it is still checked. For example, an NDIA organisation ID must be 9 digits starting with 405.
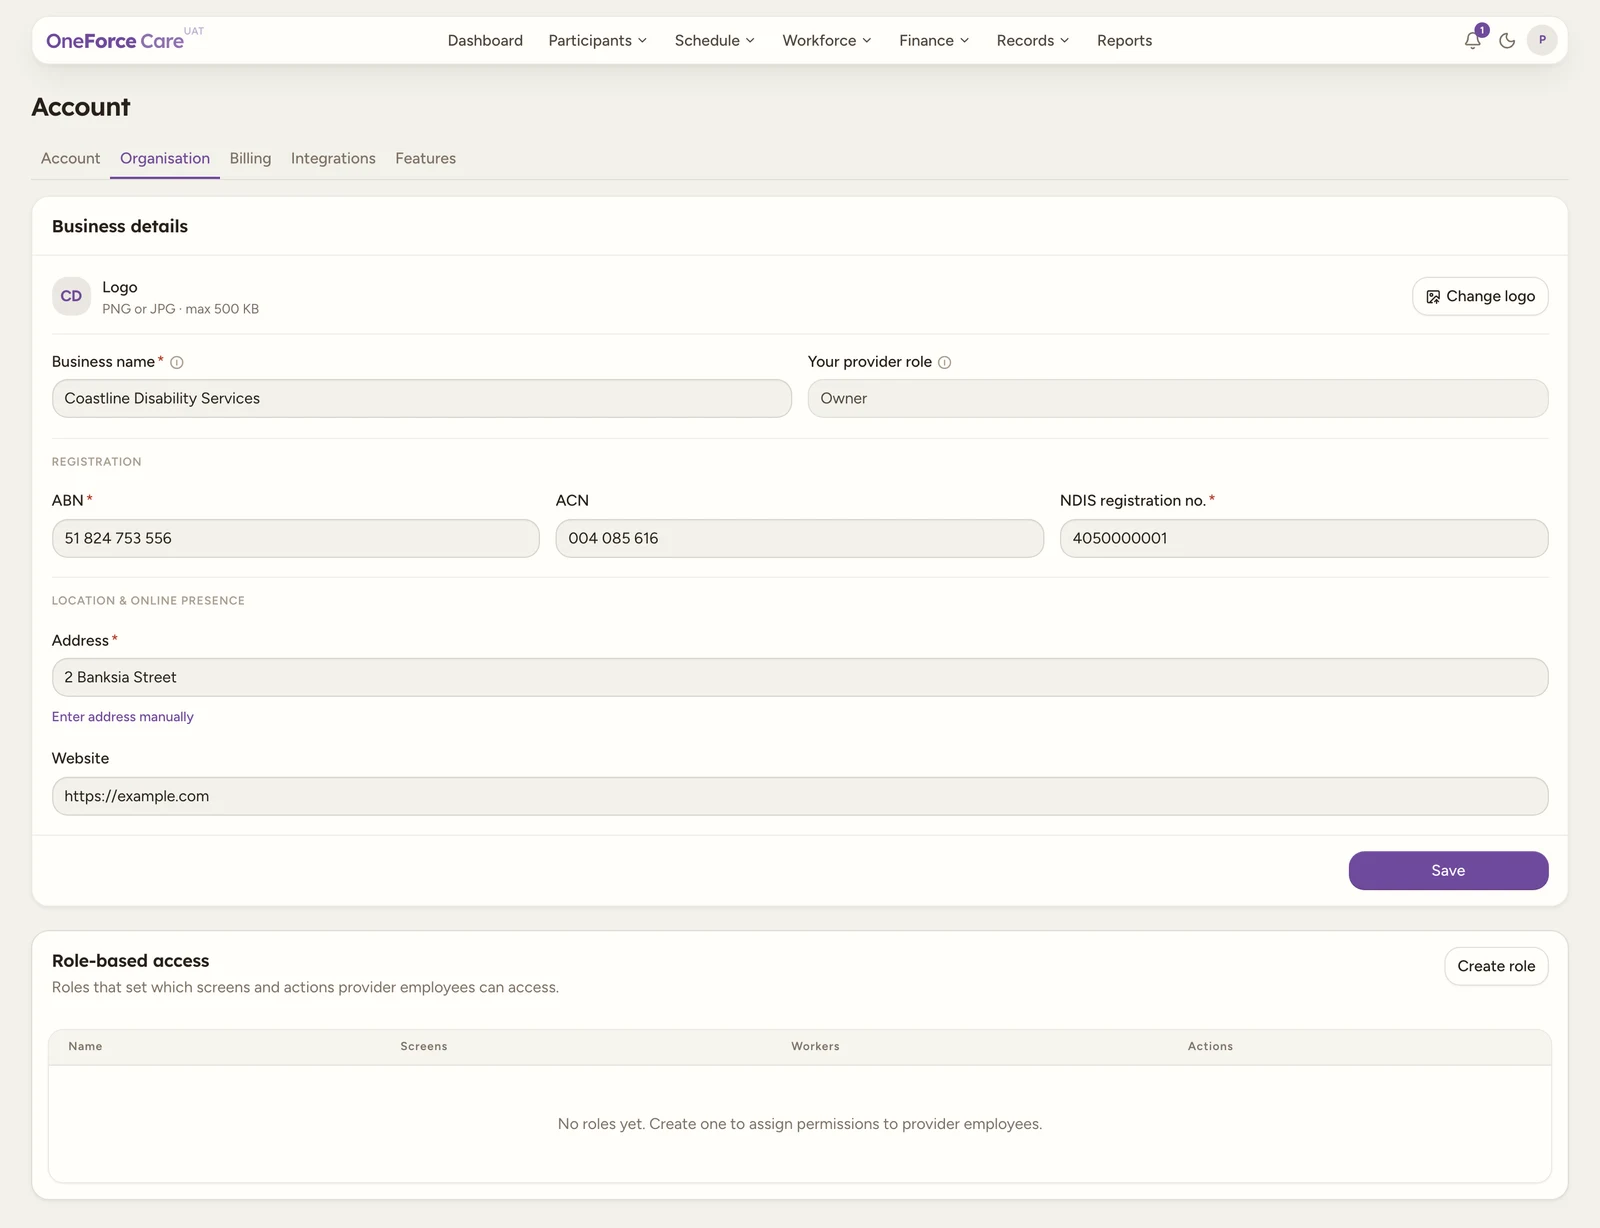
If the address lookup can’t find it. Select Enter address manually under the box. The single field splits into four: Address, Suburb, State (a dropdown of Australian states and territories) and Postcode. To go back, select Search for an address instead; the search box comes back holding the whole address line you typed, not just the street.
Roles, further down Organisation
Underneath Business details, the same tab holds Role-based access: create named roles, choose their screens and actions, and see who’s assigned to each one. This is covered in full in Roles and access.
Invoicing defaults, on Invoicing
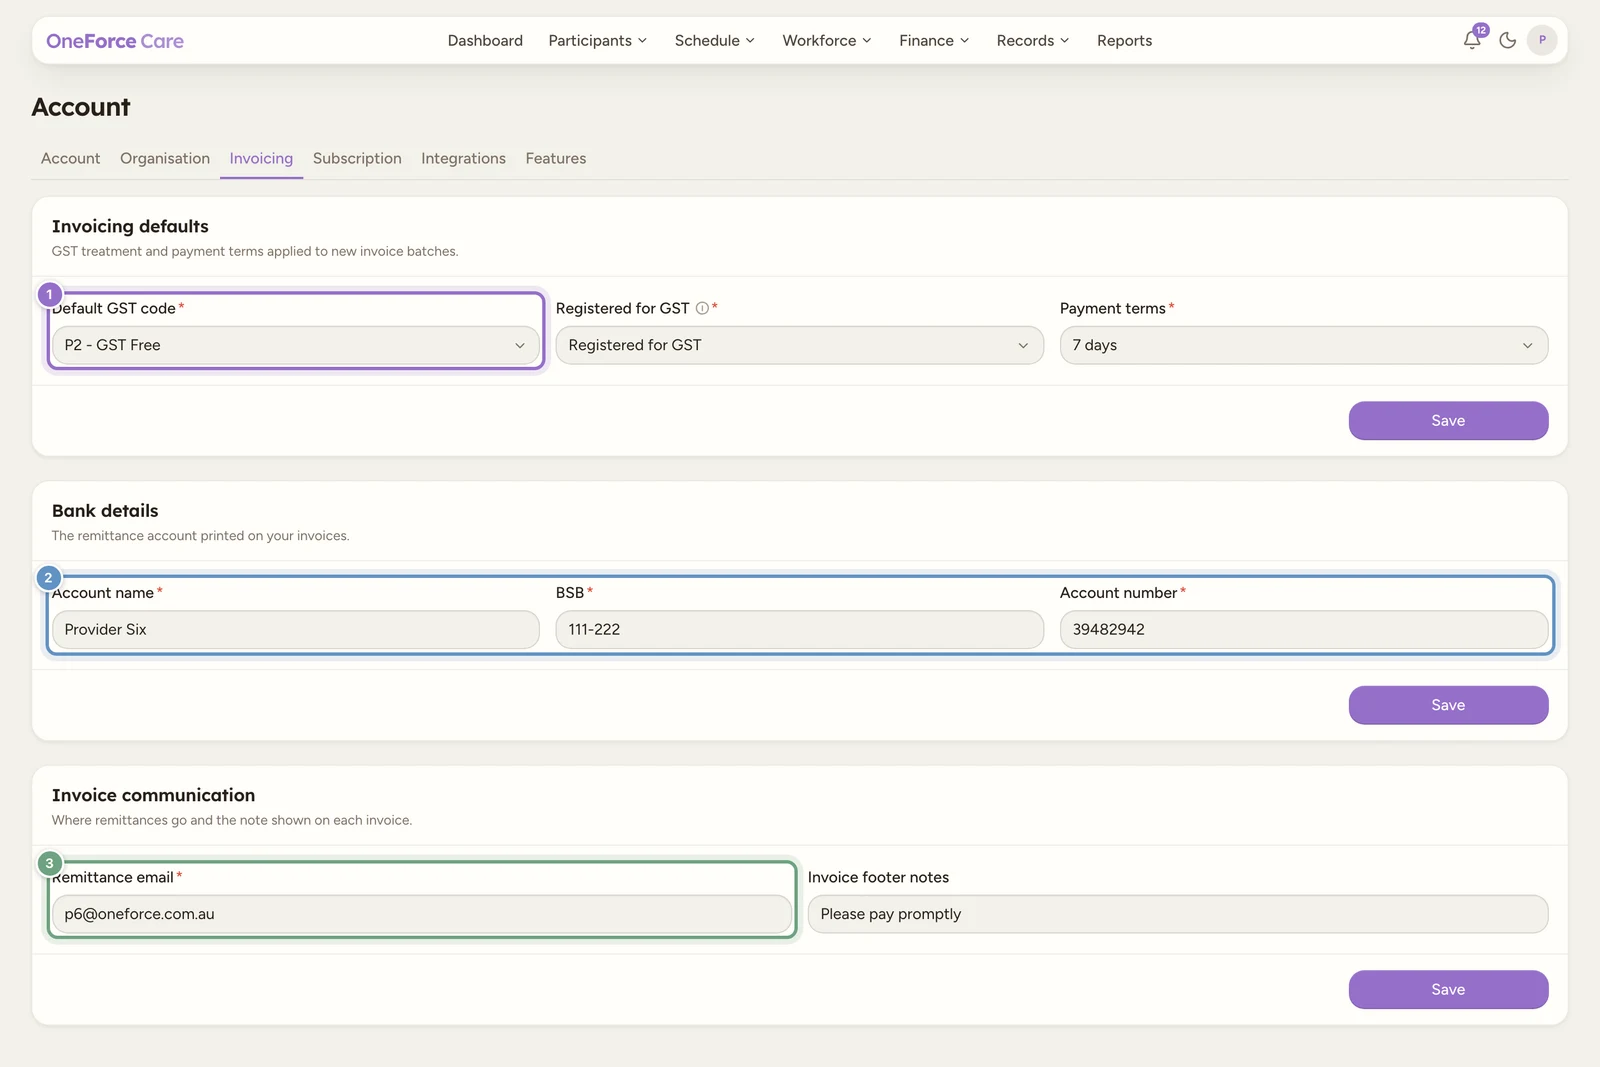
Open the Account›Invoicing tab. Three cards set the defaults every plan-managed and self-managed invoice batch uses, and each one saves on its own:
- Invoicing defaults: Default GST code (P2 - GST Free, P1 - 10% GST, or P5 - GST out of scope), whether you’re registered for GST, and payment terms (Due on receipt, 7 days, 14 days, 30 days, or Custom with your own due-days).
- Bank details: Account name, BSB and account number, the remittance account printed on your invoices.
- Invoice communication: Remittance email (required) and an optional invoice footer note.
Select Save on the card you changed. Each card confirms itself: “Invoicing defaults saved.”, “Bank details saved.” or “Invoice communication saved.” Every field here except the footer note is required; if one is missing or invalid, the first problem is shown, for example “BSB must contain exactly 6 digits.” or “Remittance email must be a valid email address.”
The Subscription tab beside it holds your plan. It reads Early access: everything is included while OneForce Care is in early access, and there is nothing to set up. Contact OneForce Care support for subscription enquiries.
Tip
Set this up before your first invoice run: Generate invoice batches stops before creating anything if these details are missing or invalid.
Connect Xero, on Integrations (optional)
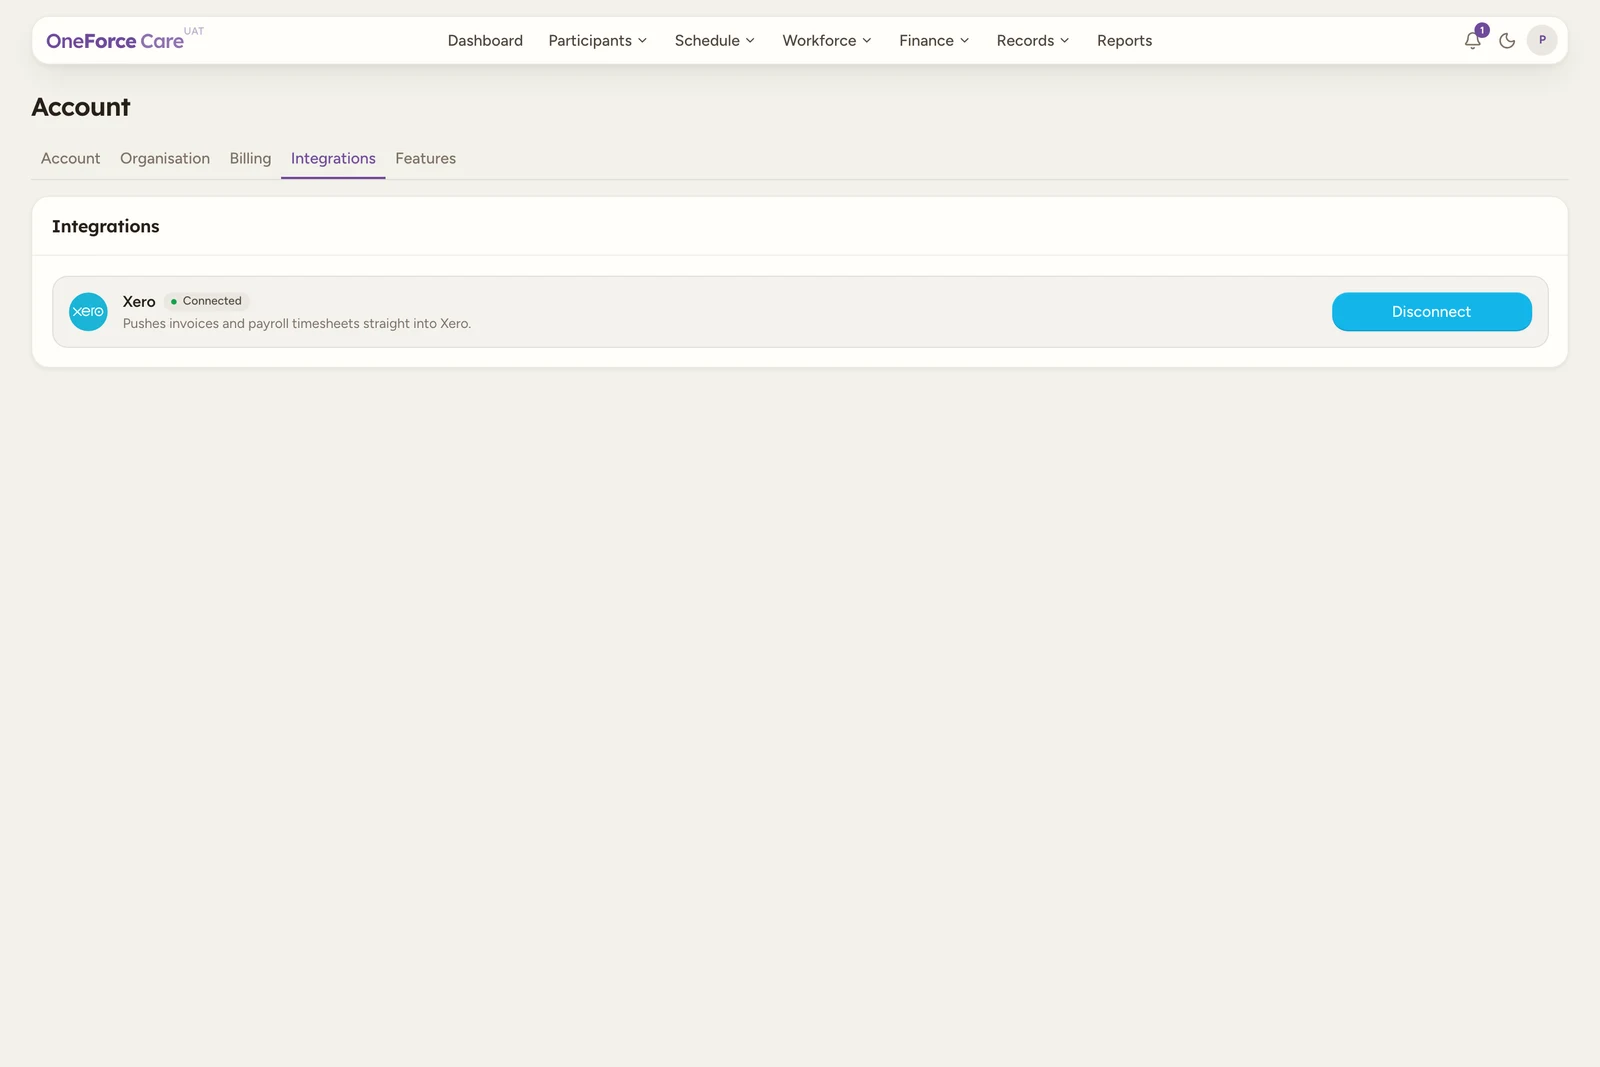
Open the Account›Integrations tab. If you use Xero for your books, select Connect to Xero. Xero’s sign-in and authorisation opens in a new tab; once you approve it, you see “Xero connected.” and the row shows a green Connected badge.
There’s nothing else to configure: the push works out the sales account and GST treatment from your connected Xero organisation automatically. Select Disconnect at any time to unlink it.
Note
If the connection fails, you see “Xero connection failed. Try again, or check the Xero app configuration.” Nothing changes on your account until it succeeds.
Turn on workspace features, on Features
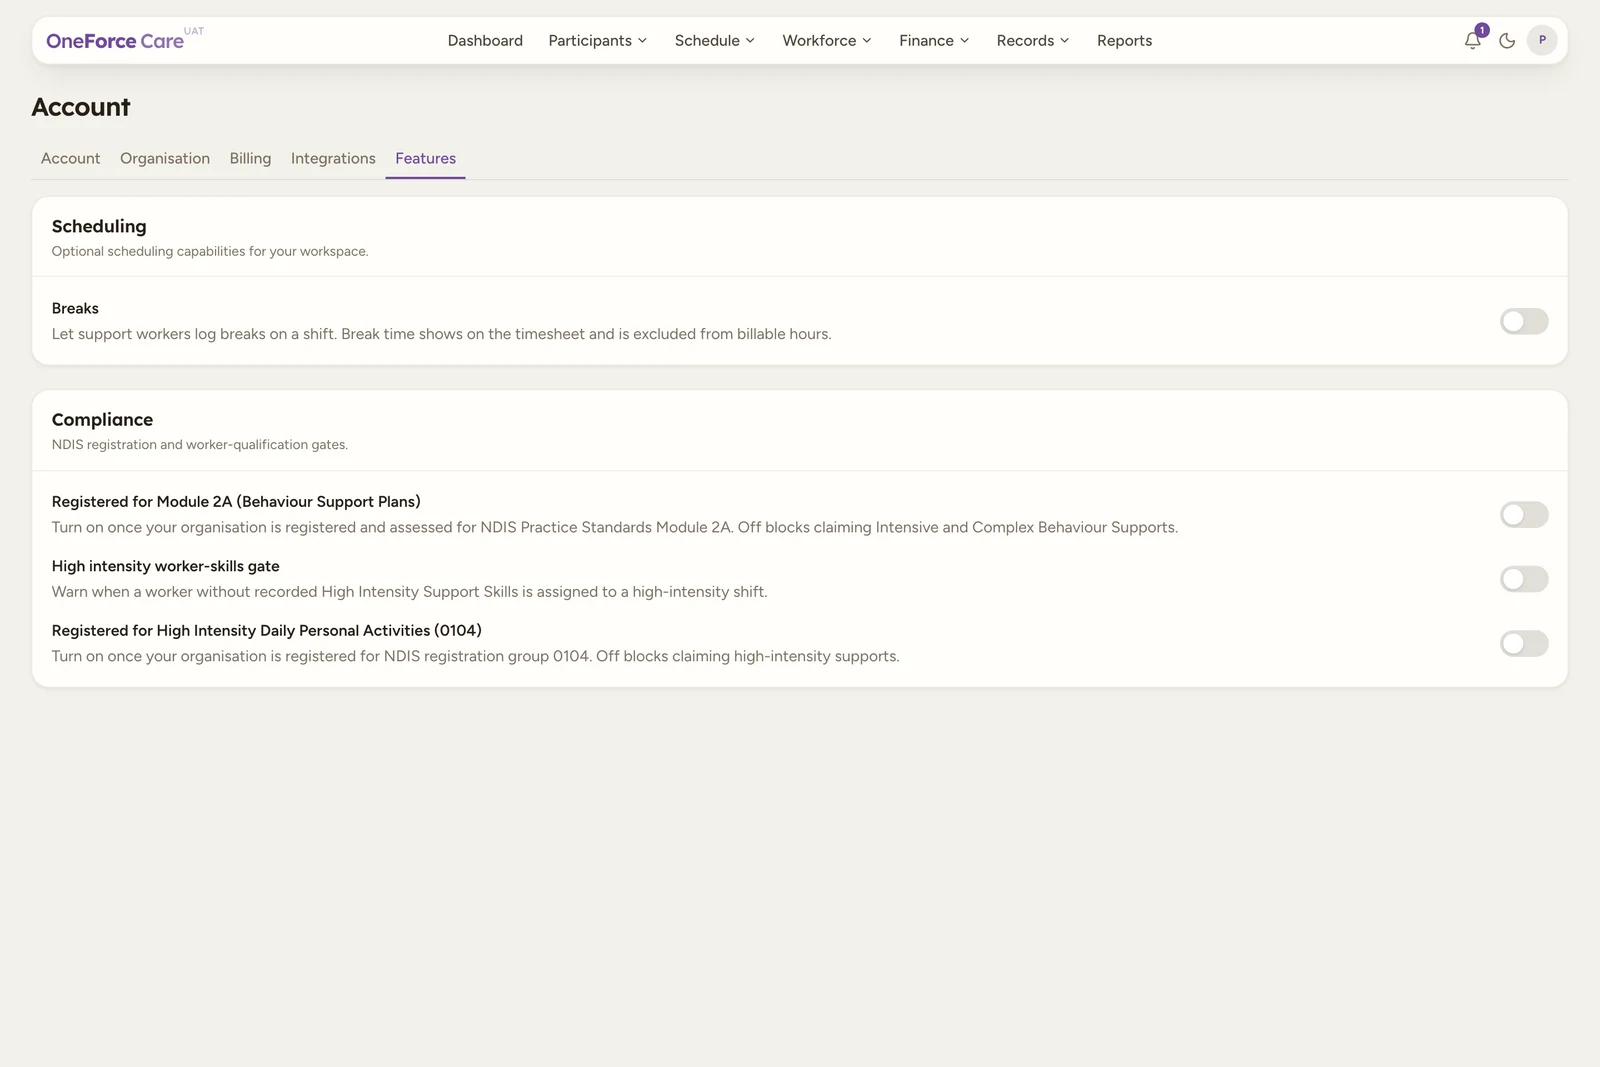
Open the Account›Features tab. Toggles are grouped into five cards, and each one saves on its own the moment you switch it, with a toast such as “Breaks enabled.” or “Breaks disabled.”
| Group | What it holds |
|---|---|
| Modules | Whole areas of the workspace: Payroll; Invoicing, claims and payments; Incidents; Tasks; Reports; Documents and e-signing; Intake; Directory. All on to begin with. Switching one off hides that area from everyone in the workspace. |
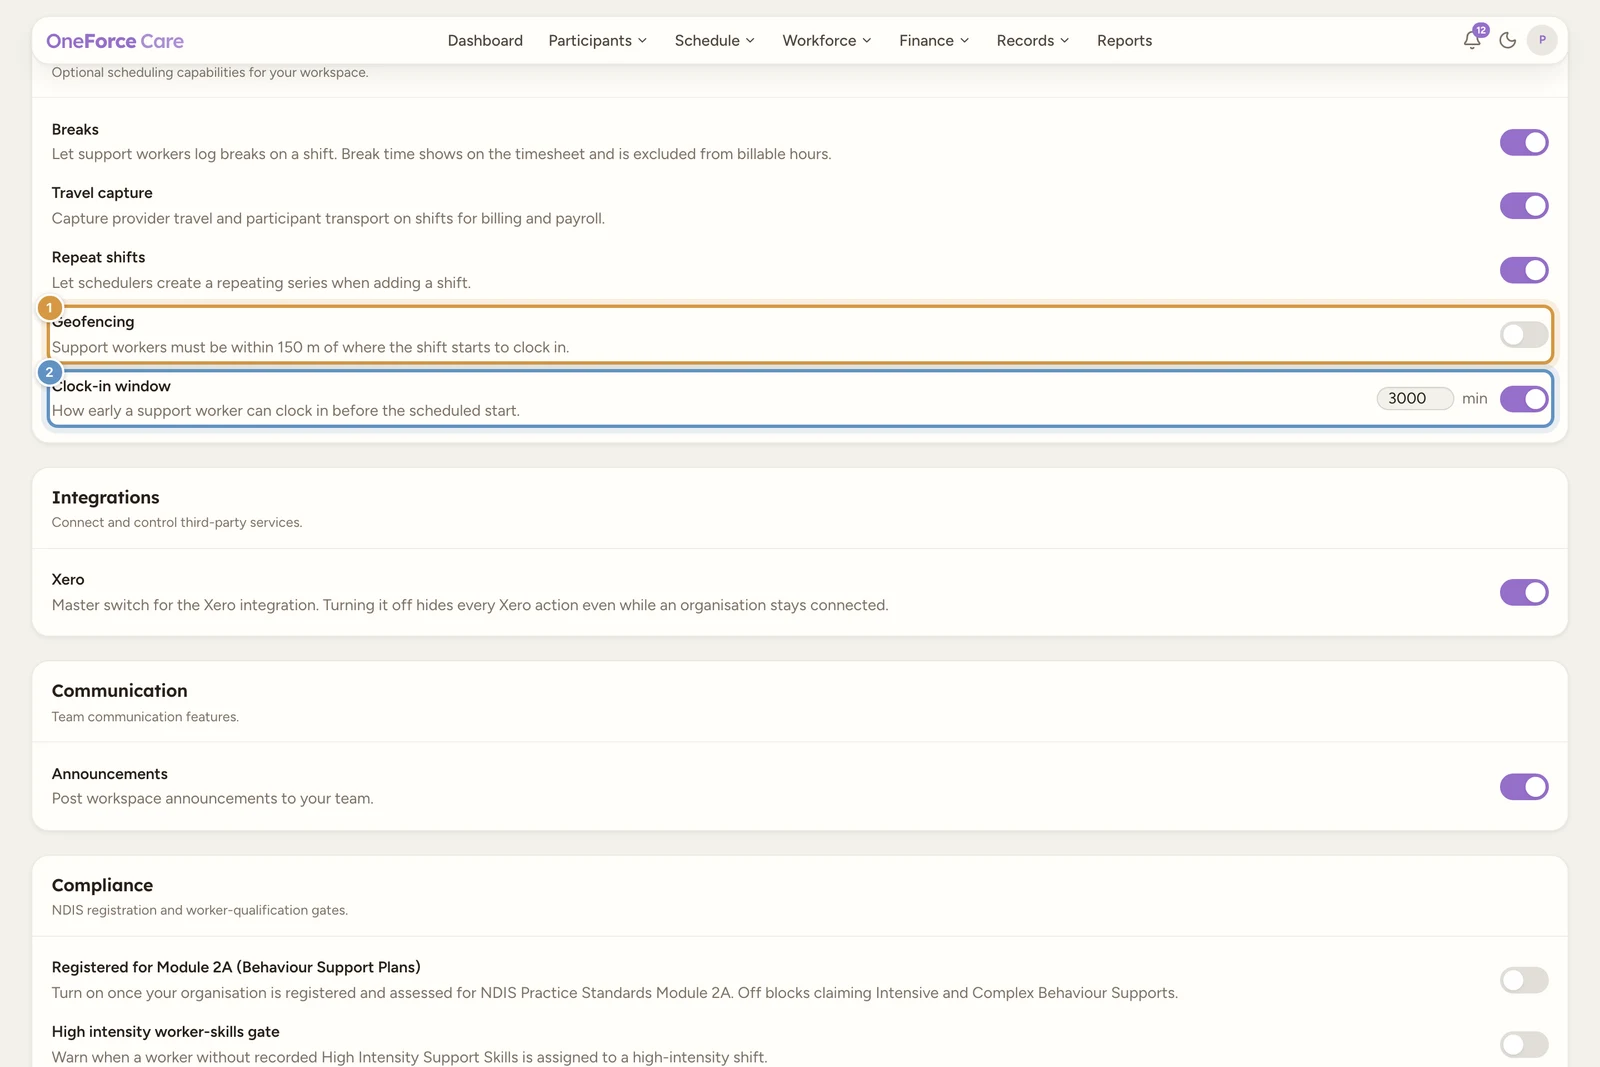
| Scheduling | Breaks, Travel capture, Repeat shifts, and the two clock-in gates, Geofencing and the Clock-in window. |
| Integrations | Xero, a master switch that hides every Xero action even while an organisation stays connected. |
| Communication | Announcements, which puts the announcement composer on the Notifications page. |
| Compliance | Your NDIS registrations and the worker-skills gate. Off to begin with. Each registration blocks claiming the supports it covers until you turn it on; the High intensity worker-skills gate is the exception, warning at assignment rather than blocking anything. |
Two toggles in the Scheduling group decide when a support worker’s app will let them start a shift, so they are worth setting deliberately before you publish a roster:
- Geofencing: support workers must be within 150 m of where the shift starts to clock in. On a group shift that is the first pickup, not the destination.
- Clock-in window: how early a support worker can clock in before the scheduled start. The box beside the toggle holds the minutes, from 0 up to 4320 (three days), and it starts at 5.
Tip
Every toggle, group by group, is covered in Workspace features.
Tip
Next, work through your first week checklist to invite your team and bulk import your participants and workers.