Browse help topics
Travel on a shift
Where travel terms come from and how travel is captured per worker.
Last updated · 23 September 2026
Travel is tied to the participant agreement and to each worker, not drawn on the roster. There is no travel indicator on the Planner chip.
Travel terms on the shift
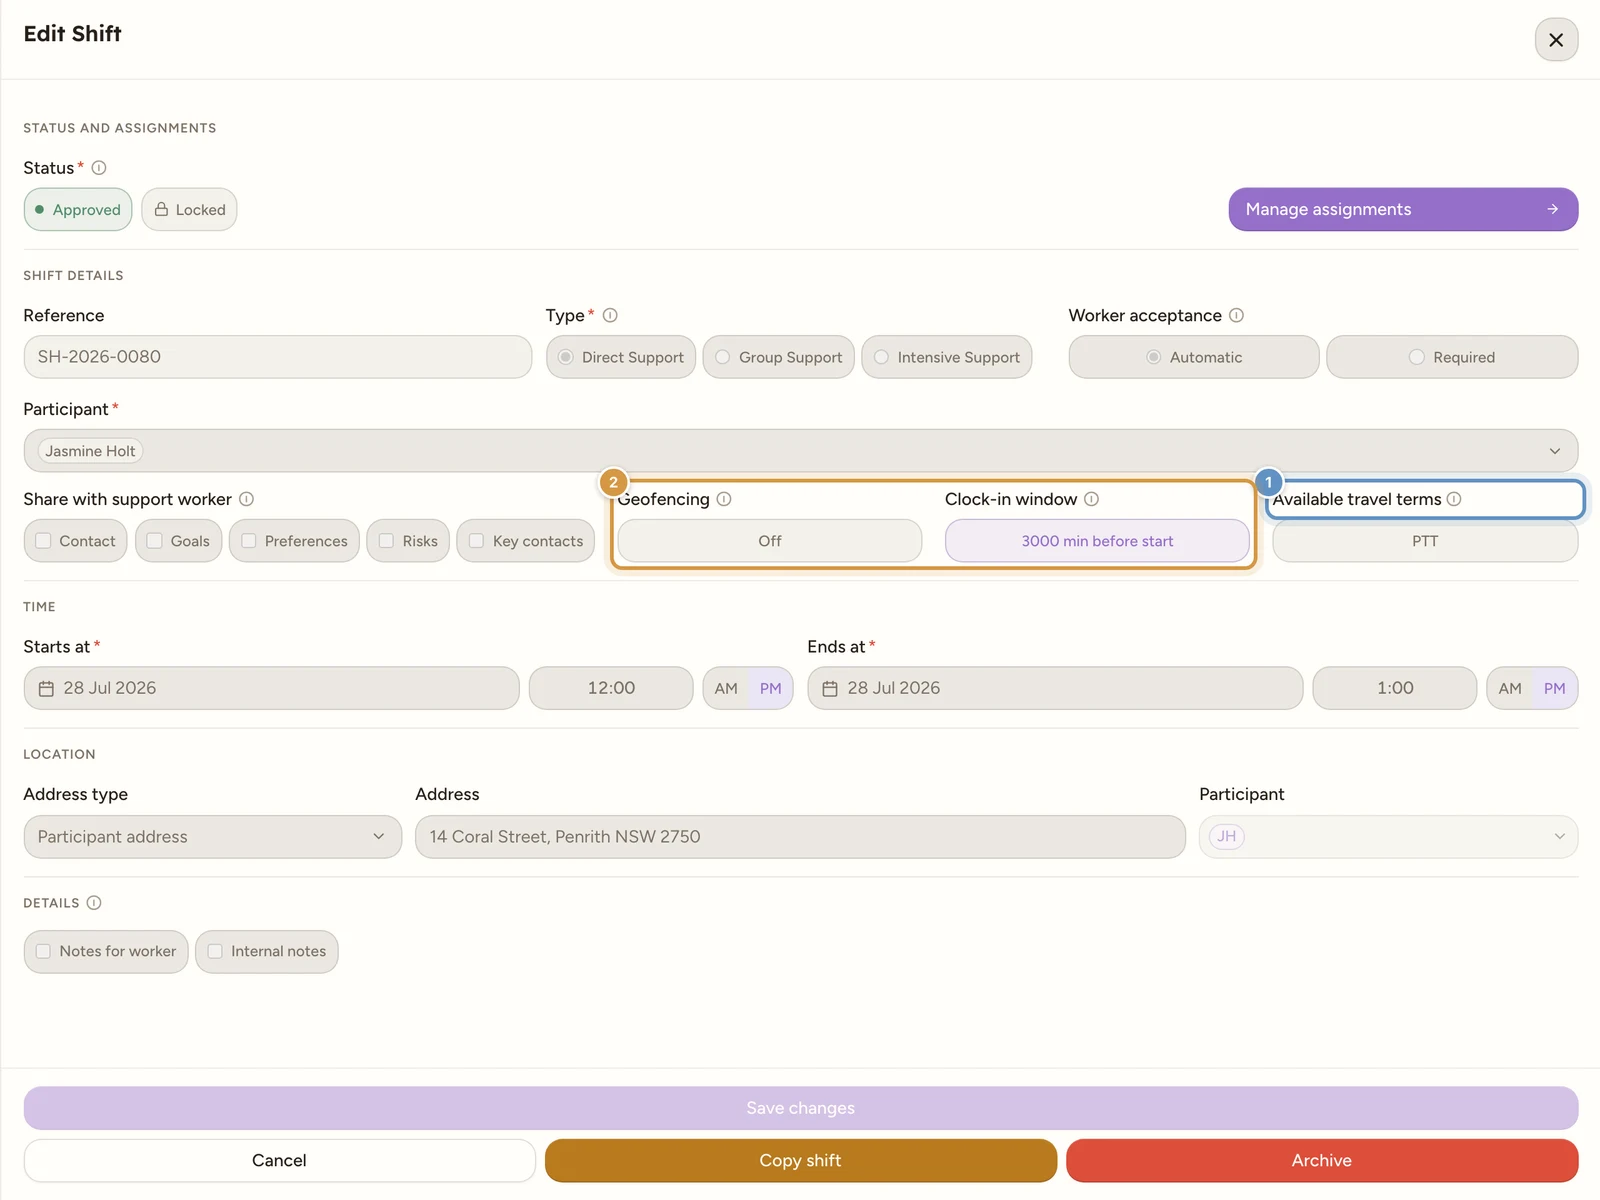
When you create or edit a shift, the Available travel terms field shows, read-only, which travel terms the selected participant’s agreement allows. If their agreement has none, it reads No travel terms are available for the selected participant. (For Group Support this becomes …participants., and a term only shows when every participant on the shift shares it.)
Travel per worker
The actual travel for a shift is captured against each worker’s assignment, inside Manage assignments, rather than on the shift as a whole. That keeps travel attached to the worker who did it.
Travel is recorded on the phone and reviewed in the office. There is no way to add a leg from the office: a leg exists because a worker recorded it. The assignment’s Travel section lists what they captured (“Worker travel on this shift. With the participant in the car bills as participant transport; otherwise it’s provider travel.”), and selecting a row opens the Travel review drawer, where you can check the route on a map, correct the details, then approve or delete the leg.
Three fields are required before a leg can be approved, each marked with a red asterisk: Destination (MMM), Distance (km) and Support code. An empty distance blocks approval; an explicit 0 is a valid answer for a leg that recorded no movement.
Note
Travel is an optional workspace capability. With Travel capture switched off under Account > Features > Scheduling, no travel is offered on the phone and there is nothing to review here. See Workspace features.
Note
Once provider travel for an assignment has started, the shift’s planned details lock, just as they do once a worker clocks in. You can still manage assignments and cancel.
Tip
To change which travel terms are available, update the participant’s service agreement, then reopen the shift to see the refreshed terms.
Review the recorded route
Open a travel row to inspect its map alongside the times, kilometres and support code. The map can show two views:
| View | What you are looking at |
|---|---|
| Snap to Road | A route matched to roads from the phone’s recorded locations. |
| GPS Points | The original location points recorded during the trip. Use these to compare with the matched route. |
High confidence means the recorded points supported the road match well. Approximate match asks for a closer check. If a road match is unavailable, use the recorded points and the trip details; a missing matched route does not mean the worker recorded no travel.
The start and end locations are approximate. Where an accuracy figure is shown, it describes the phone’s location estimate at that endpoint, not the accuracy of the entire trip or the kilometres to claim. A route can have gaps if location reception was poor. Check the worker’s account of the trip before approving a distance that looks wrong.
Check the destination and kilometres
When a recorded trip has no destination classification saved, Destination (MMM) can start from the participant’s classification. Check it against the actual trip destination before approving; a prefilled value still needs review.
The worker may have entered a kilometre correction during their online shift review. Compare the distance, times, map and applicable travel terms together. Correct the fields that need changing, then approve the leg. A map helps with review; it does not by itself establish what is payable or claimable.