Browse help topics
Connect Xero
Connect to Xero from the Integrations tab; accounts and GST are worked out automatically, so there is nothing else to set up.
Last updated · 2 August 2026
The Account›Integrations tab connects your workspace to Xero so invoices and payroll timesheets push straight into it. It’s connect-only: once you’re connected, OneForce Care works out the sales account and GST treatment from your Xero organisation itself, so there’s nothing to configure by hand.
Note
The Integrations tab
The tab holds one Integrations card with a single compact row for Xero: the Xero logo, the label Xero, a status badge, the line Pushes invoices and payroll timesheets straight into Xero., and a button on the right. The badge and button are all that change: Not connected with a Connect to Xero button (in Xero’s own blue), or Connected with a Disconnect button. There is a third state: if Xero has been switched off under Account›Features, the button is replaced by the plain line Xero is turned off in Features, so nothing can be connected or disconnected until the master switch goes back on.
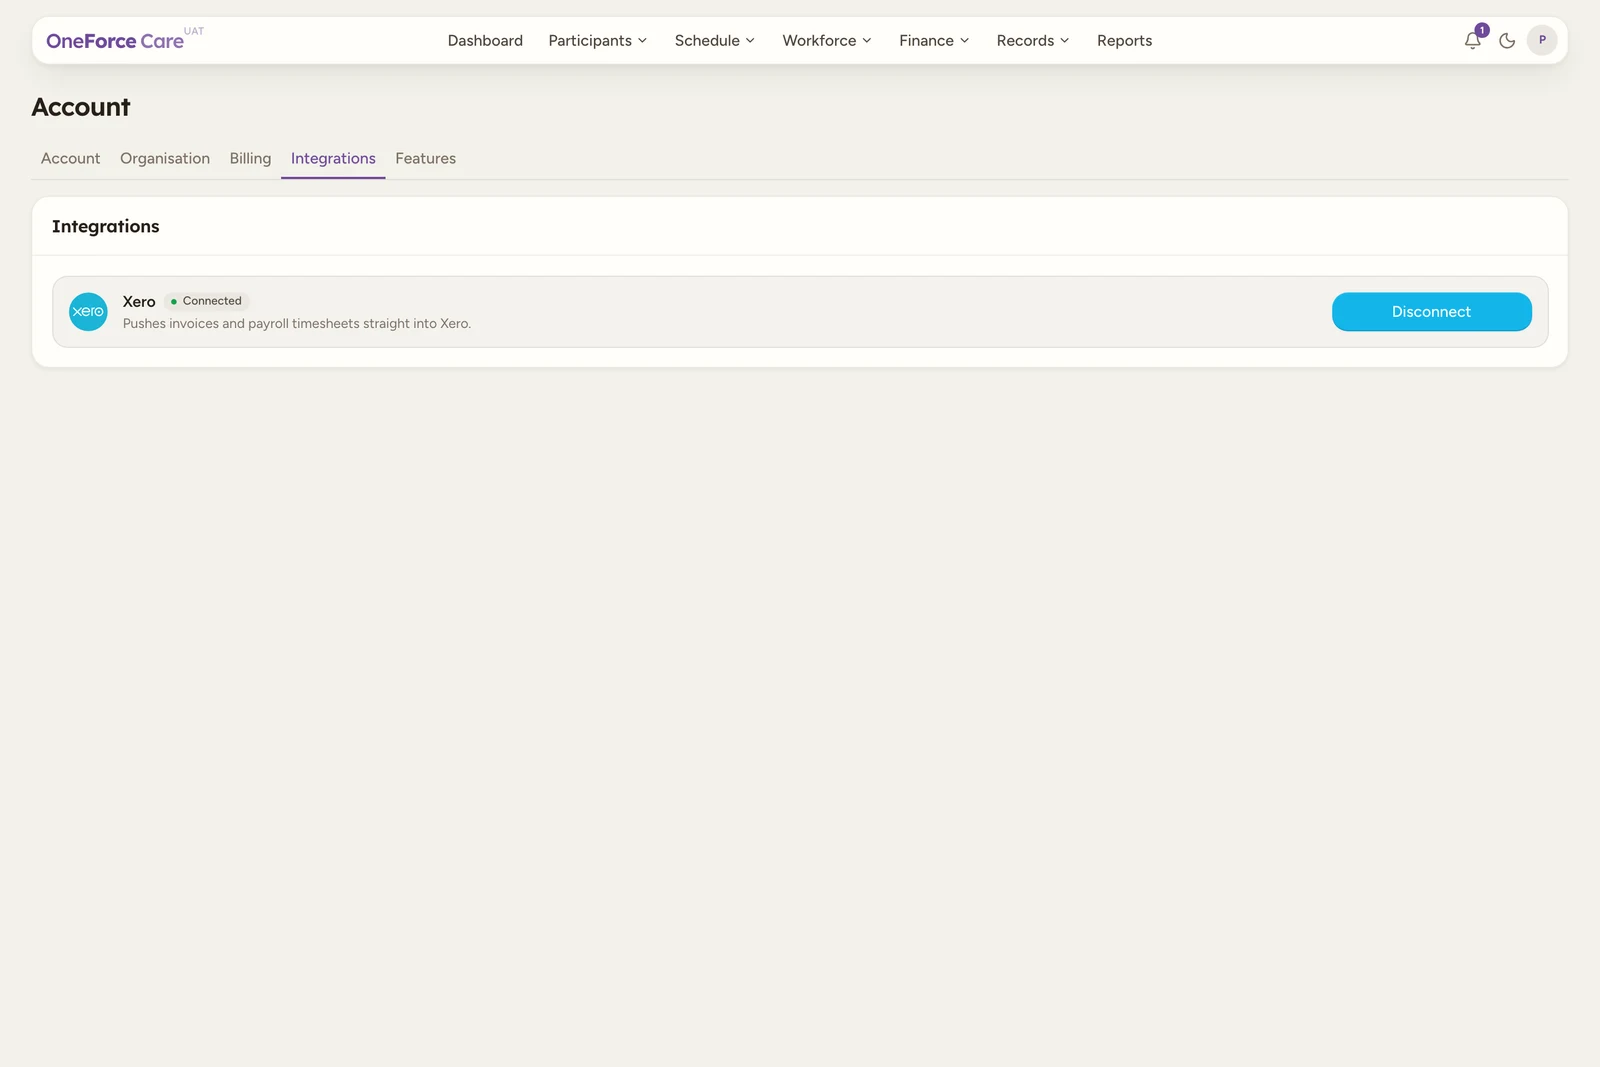
This workspace already has a Xero organisation connected. Before you connect, the badge reads Not connected and the button reads Connect to Xero.
Connect to Xero
Open Integrations
Go to Account›Integrations. While nothing is connected, the Xero row shows a Not connected badge next to a Connect to Xero button.
Select Connect to Xero
Select the button. OneForce Care opens a new browser tab straight away (so a popup blocker doesn’t stop it), then points that tab at Xero once it’s ready. If your browser still blocks the new tab, OneForce Care sends your current tab to Xero instead.
If the connection can’t even start (for example a configuration problem), the new tab closes itself and you see an error toast in the original tab, either the specific reason or Could not start the Xero connection.
Sign in and approve access in Xero
In the new tab, sign in to Xero if you aren’t already, choose the Xero organisation to connect (if your Xero login has more than one), and approve the access OneForce Care is requesting.
Return to OneForce Care
Xero sends that tab back to the Integrations tab once you’ve approved access. On success you see Xero connected. and the row’s badge switches to Connected, with a Disconnect button in place of Connect.
If something goes wrong in Xero (you decline access, or the connection can’t complete), you instead see Xero connection failed. Try again, or check the Xero app configuration.
Note
It’s the tab Xero returns to that shows the connected state. If you kicked the connection off from a different tab and left it open, reload that tab to pick up the change.
Disconnect Xero
Once connected, select Disconnect. You see Xero disconnected. and the row returns to its not-connected state. If the disconnect fails, you see the specific reason or Could not disconnect Xero.
Tip
There’s no separate settings screen for Xero: no account mapping, no GST code mapping, nothing else to pick. Connect once, and the rest of the app pushes invoices and payroll timesheets into the connected Xero organisation on your behalf.