Browse help topics
Settings overview
The Account area and its six tabs, and which settings are owner or admin only.
Last updated · 2 August 2026
Your account and workspace settings live under the avatar menu at the top right. Select your initials, then choose Account. The page opens with a row of tabs across the top.
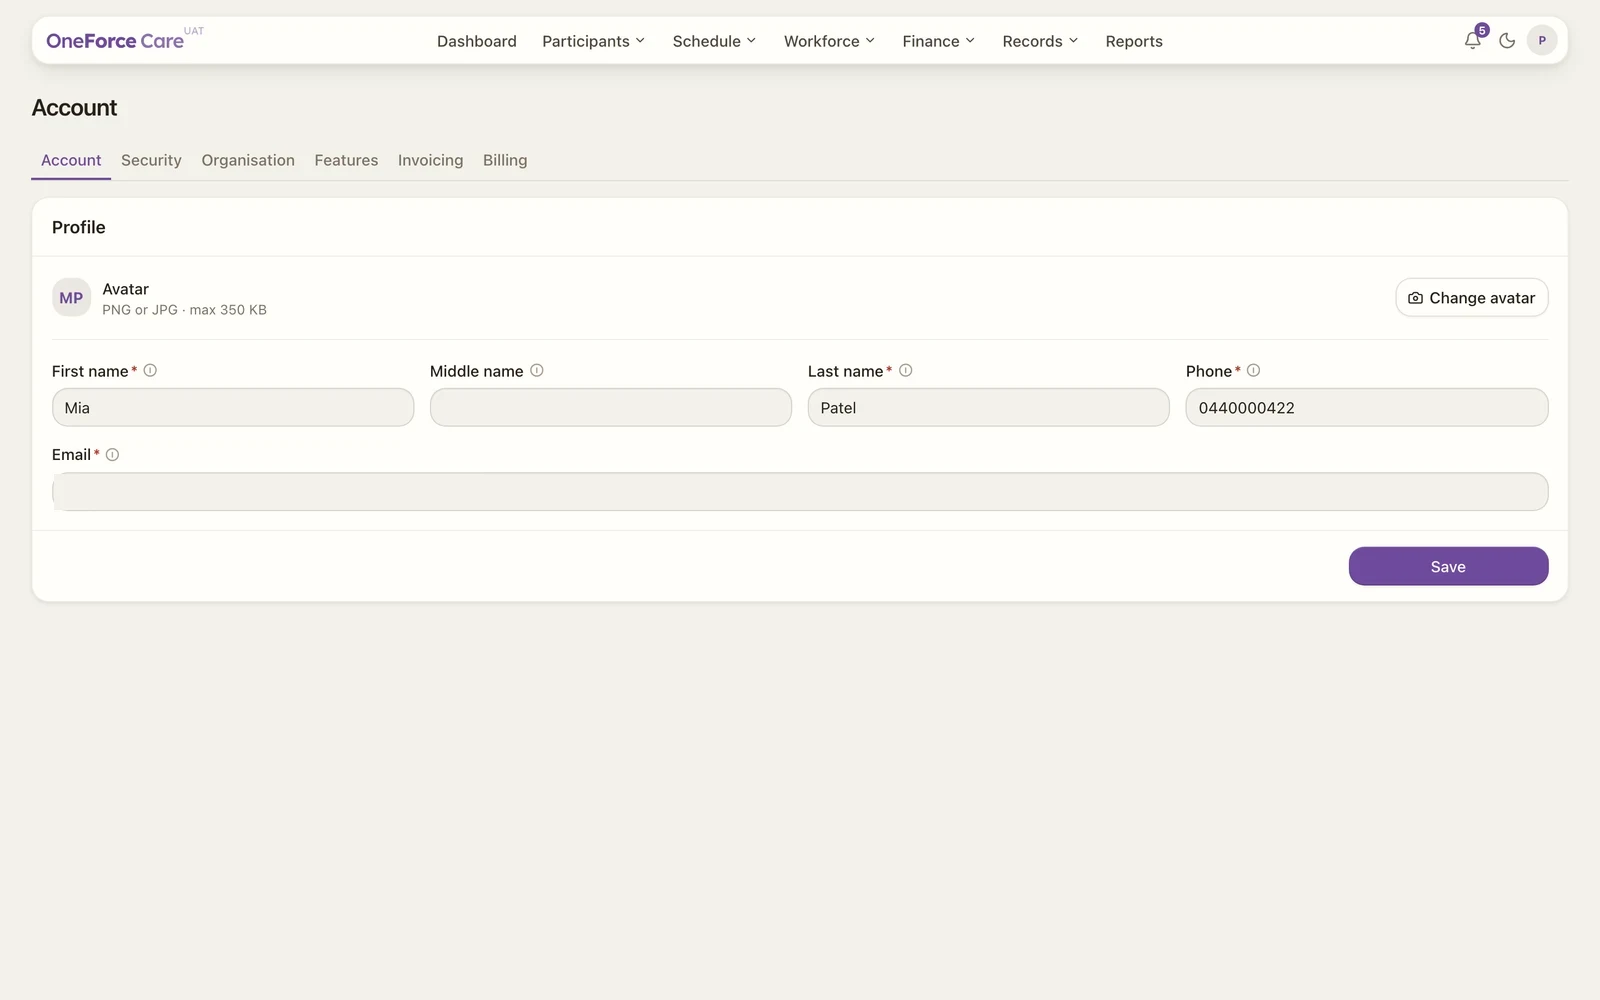
The tabs
| Tab | What it holds | Who sees it |
|---|---|---|
| Account | Your own profile (name, phone, sign-in email), your password, and your two-factor authentication. Owners also see workspace-wide 2FA enforcement here. | Everyone |
| Organisation | Owners: business details, logo, ABN and NDIS registration. Owners and admins: the Role-based access section for provider employee roles. | Owner and admin |
| Invoicing | Invoicing defaults, bank details and invoice communication, used when you generate invoices. | Provider owner |
| Subscription | Your plan. Everything is included while OneForce Care is in early access. | Provider owner |
| Integrations | Connect or disconnect Xero. | Provider owner |
| Features | Nineteen workspace capability toggles, from whole modules to the clock-in gates. | Provider owner |
Note
Organisation appears for the provider owner and admins, though owners and admins see different content on it (see Organisation settings). Invoicing, Subscription, Integrations and Features appear only for the provider owner. Provider employees see only the Account tab.
Note
The old single Billing tab is gone. Its invoicing defaults now sit on Invoicing, and the
plan card has its own Subscription tab. Any link or note that says ?tab=billing should be
updated.
To open a tab directly, add ?tab= to the address (for example /account?tab=invoicing). If no tab is set, or the tab named isn’t one you can see, the Account tab opens first.
Tip
Start with your own details on the Account tab, then set your password and two-factor authentication further down the same tab.