Browse help topics
Add a new intake
Capture a new enquiry from first contact.
Last updated · 2 August 2026
An intake captures an enquiry the moment it comes in, so you can track it through your pipeline. You only need a few details to start; the rest can be added later when you reopen the enquiry.
Open the form
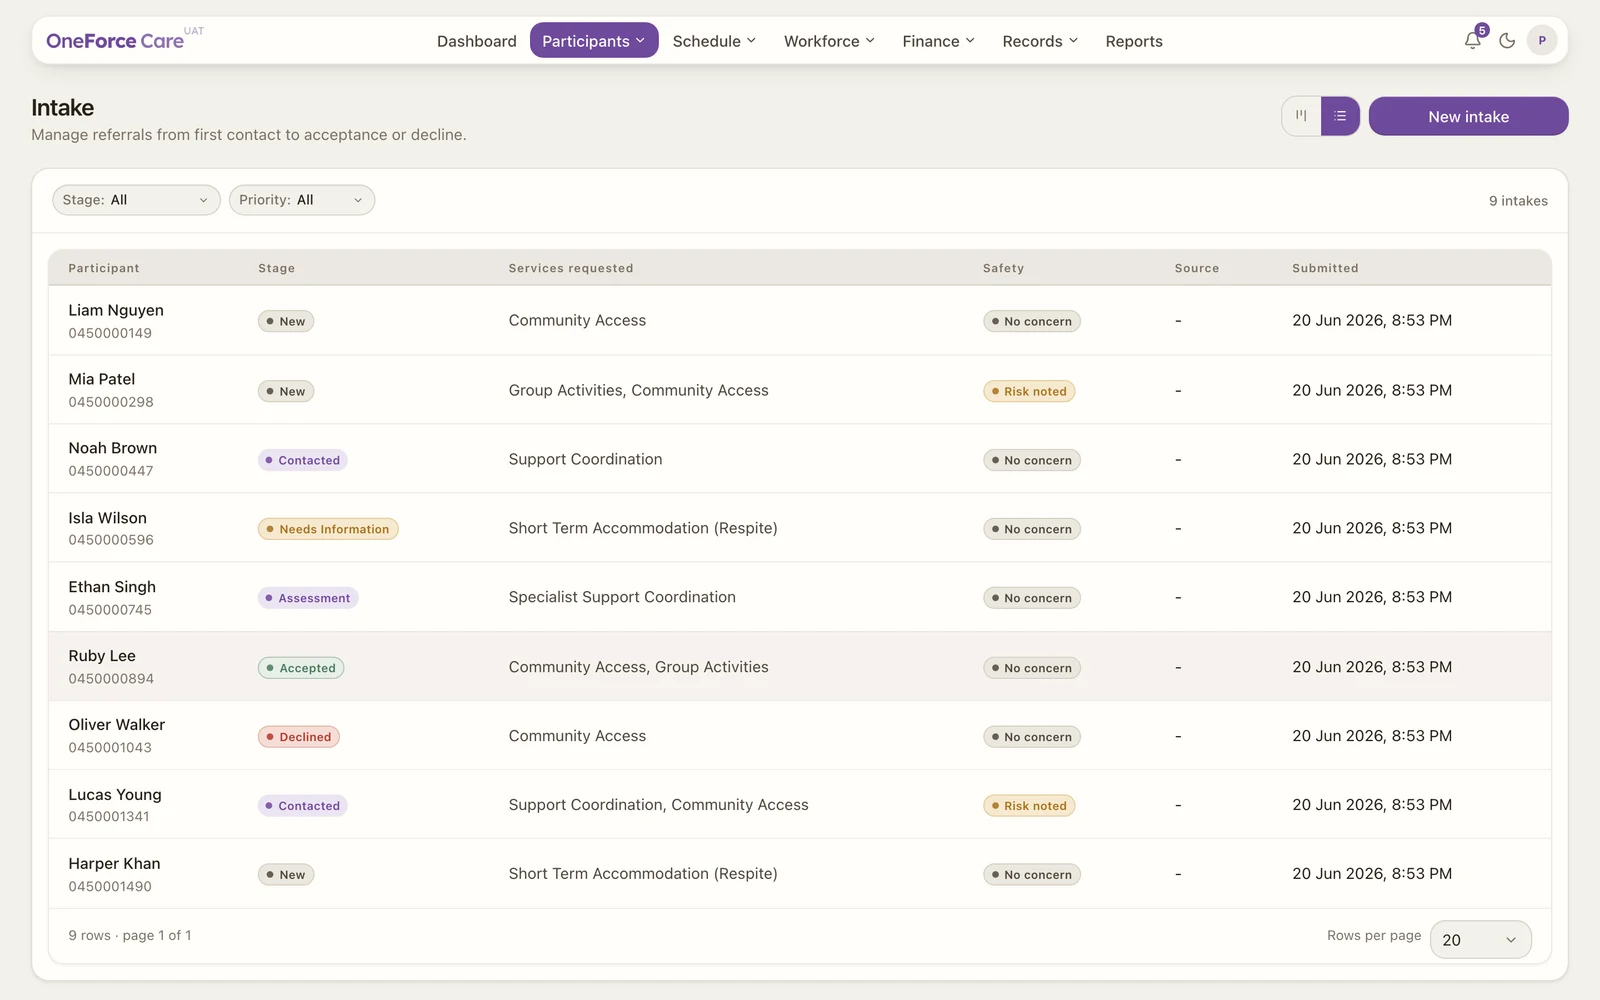
Go to Participants›Intake and select New intake at the top right. The form opens in a side drawer.
 1
1Complete the form
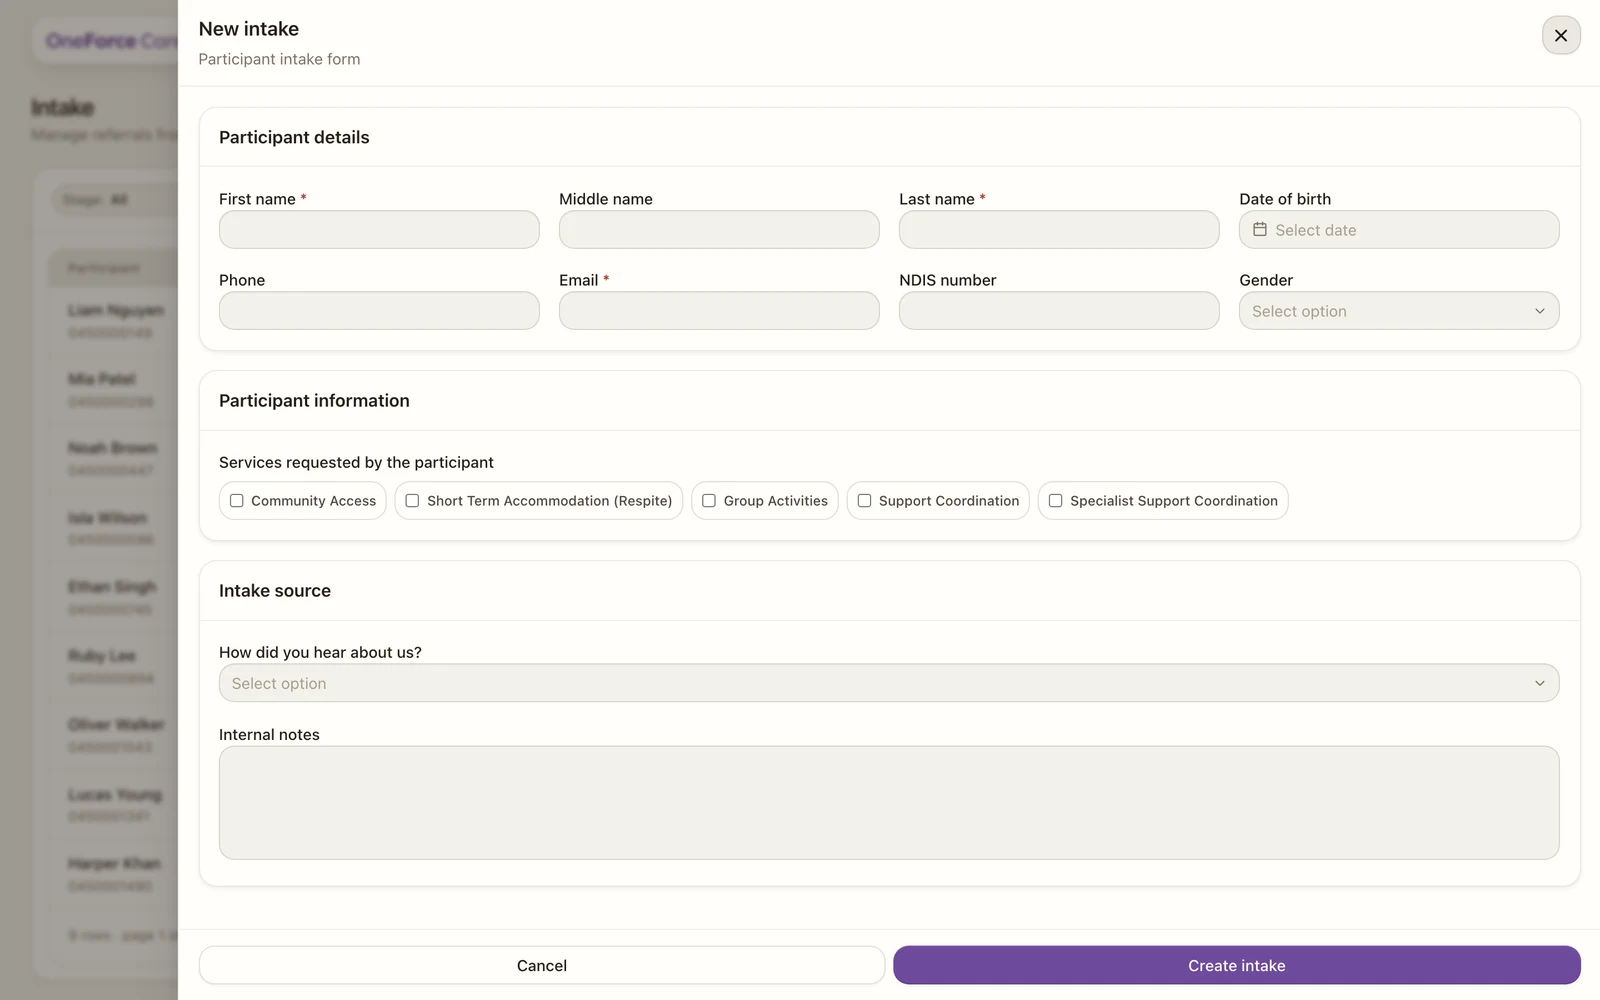
Fields marked with a red asterisk are required. Everything else is optional and can be added later.
Participant details
| Field | Required | Notes |
|---|---|---|
| First name | Yes | |
| Middle name | No | |
| Last name | Yes | |
| Date of birth | No | Date picker |
| Phone | No | If you add one, 8 to 15 digits |
| Yes | A valid email address | |
| NDIS number | No | Enter the number as issued |
| Gender | No | Select from list. Left blank, it saves as Prefer not to say |
Address (optional). This is one search box. Start typing and choose the match; that fills in the street address, suburb, state and postcode for you, even though only the one field is on screen. If the lookup does not find it, select Enter address manually underneath: the single field splits into four, Address, Suburb, State (a dropdown of Australian states and territories) and Postcode. To go back, select Search for an address instead, and the box returns holding the whole address line rather than just the street.
Participant information
- Services requested by the participant (optional): tick any that apply. The options are Community Access, Short Term Accommodation (Respite), Group Activities, Support Coordination and Specialist Support Coordination.
Intake source
- How did you hear about us? (optional): choose one option: Facebook, Instagram, Word of Mouth, Friend, Google, Respite Brochure, NDIS Local Area Co-ordinator, Support Coordinator, Other Disability Services or Disability Expo.
- Internal notes (optional): anything useful for your team. These are not shown to the participant.
Note
When you reopen an enquiry to edit it, two more fields appear under Intake source: Pipeline stage and Next contact. See Intake stages.
Tip
The State field is worth getting right early: converting this enquiry to a participant later requires a phone number, an NDIS number and a state on the address. See Convert, decline or archive an intake.
Save the enquiry
Select Create intake at the bottom of the drawer. The enquiry is saved with a message of Intake created. and appears in the list at the New stage.
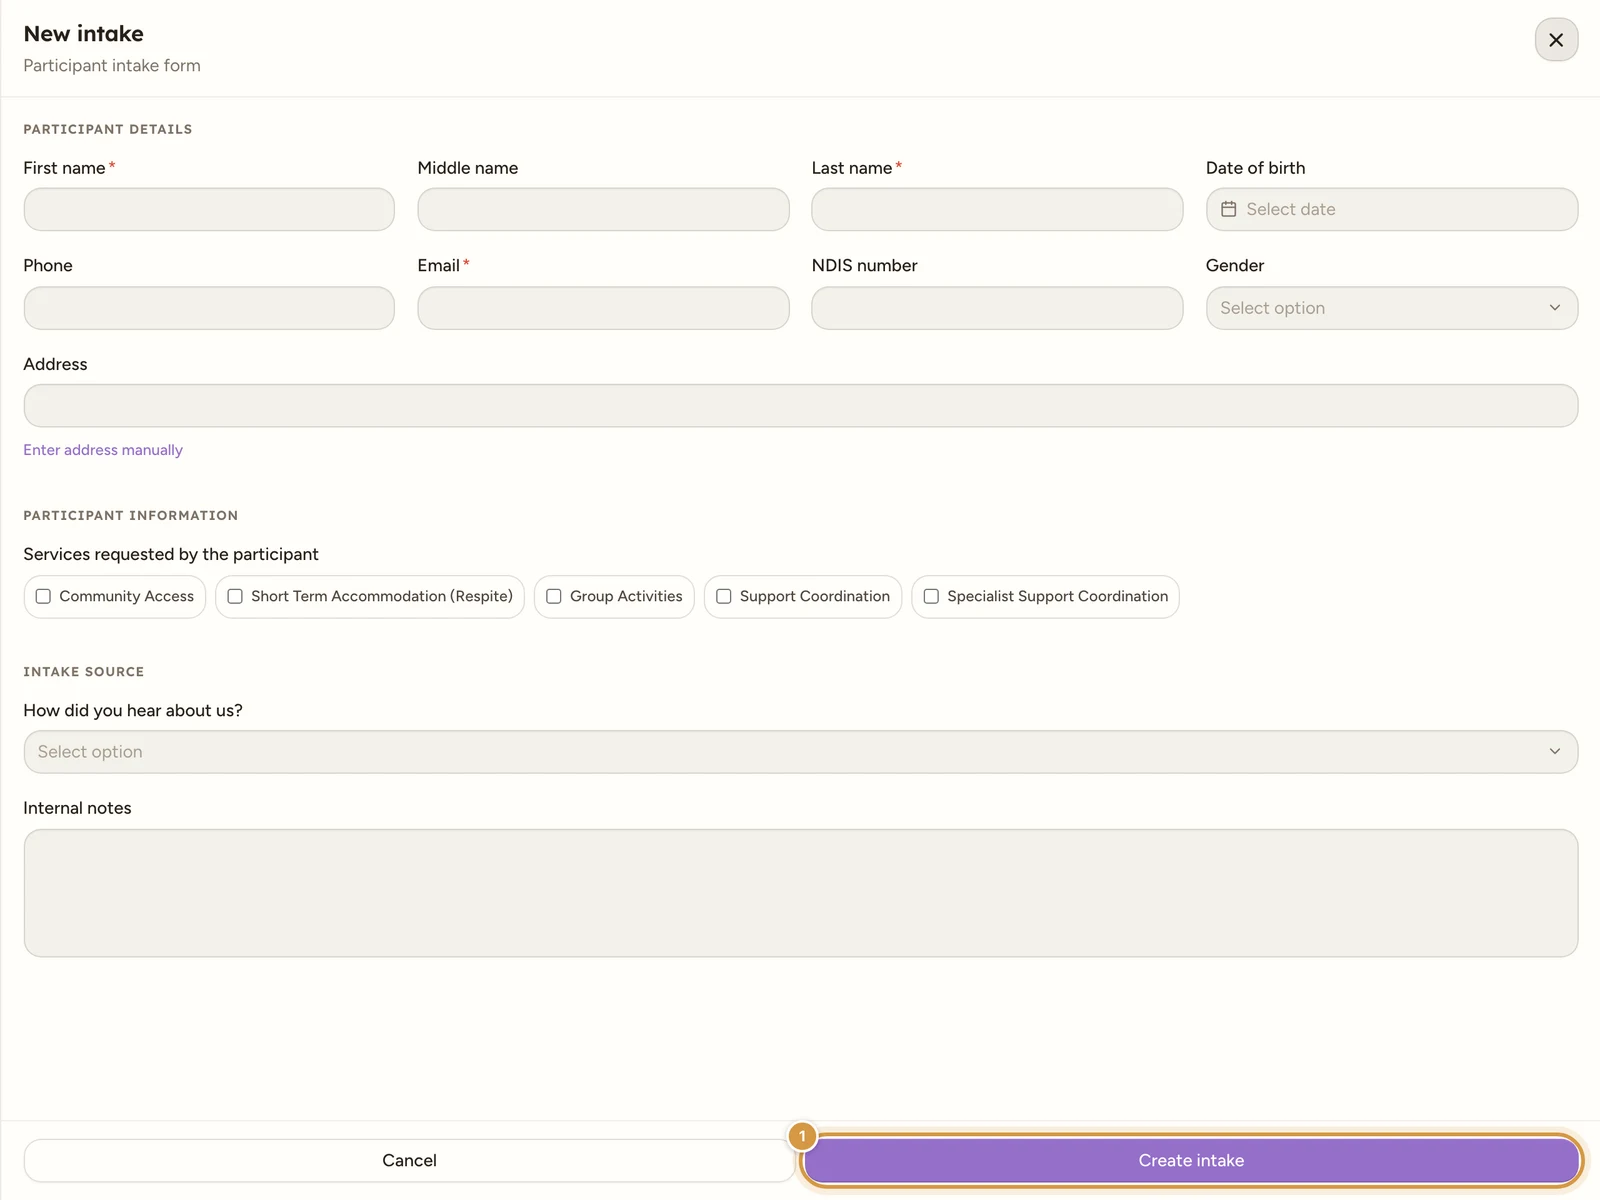
If something is missing or invalid, the drawer stays open and you see one of these instead:
- “Participant first name and last name are required.”
- “Participant email is required.”
- “Enter a valid participant email address.”
- “Enter a valid phone number (8 to 15 digits).” (only if you typed a phone number)
- “NDIS number is required.” (when converting an enquiry without an NDIS number)
Fix the field it points to and select Create intake again.
Tip
Next, move the enquiry along your pipeline as you work it: Intake stages.