Browse help topics
Workers
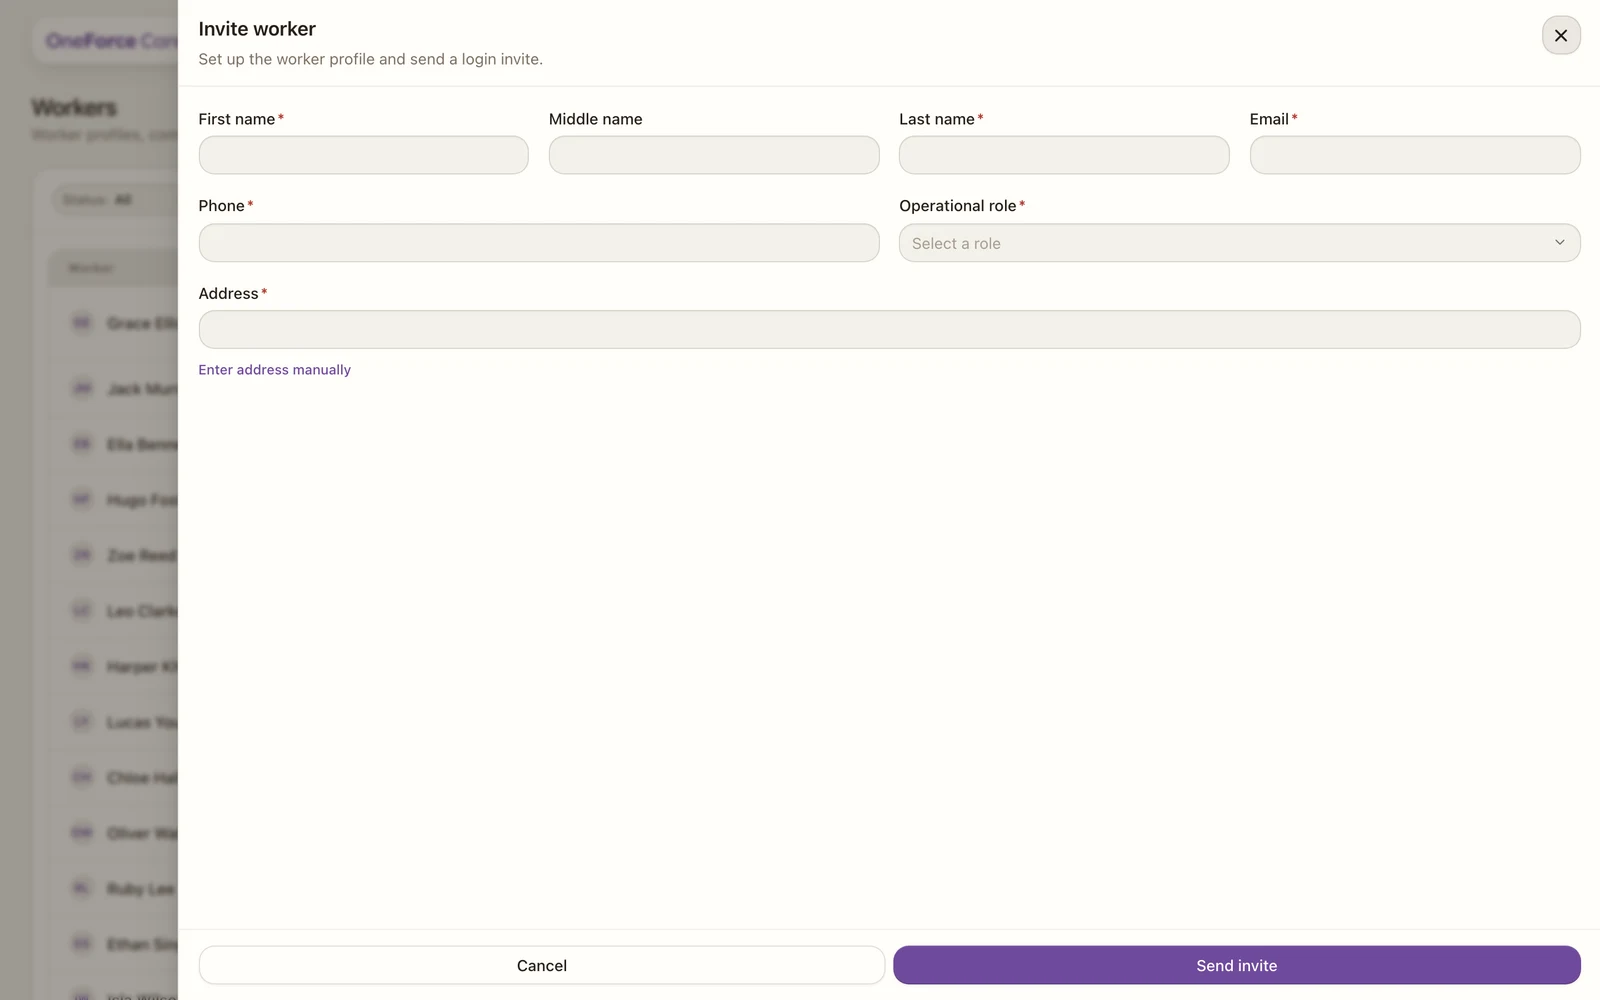
Invite a worker
Set up the worker profile and send a login invite, with the right role and identifiers.
Last updated · 25 June 2026
You add a worker by inviting them. This creates the worker record and the login, and emails the person an invite to set their password. Select Invite worker on the Workers list.
Who they are
- First name, last name, email and phone are required.
- Operational role decides what they can do:
- Admin, sees and changes every provider screen.
- Provider, signs in to the web app but only sees the screens their access role allows.
- Support worker, delivers support and uses the mobile app, with no access to the provider web app.
- Address is required on invite. Search for it, or use “Enter address manually” to set the state.
Support worker identifiers
When the role is Support worker, you also capture:
- NDIS Worker Screening ID (required), 7 or more digits.
- ABN (optional) and Working with Children Check number (optional).
- Default travel vehicle (required): Standard vehicle (a private car) or Modified vehicle or bus (wheelchair-accessible or specialised, which attracts a higher NDIS rate).
- Provider travel time, tick if you pay this worker for travel to and from the participant.
Sending the invite
Select Send invite. The worker gets an email to set their password. If an invite was just sent to that email, you will see a short cooldown (“Resend in …”) before you can send another.
Note
Pay classification, compliance and availability are set after the worker exists, on their profile tabs. The invite just gets them set up and signed in.